Why You’ll Love This Pressure Cooker Apple Butter Recipe
You’ll absolutely love this Pressure Cooker Apple Butter recipe for its simplicity and delicious flavor.
I find that making apple butter in a pressure cooker saves so much time without sacrificing taste. The aroma that fills my kitchen is heavenly, and it’s so easy to whip up a batch.
I love how the pressure cooker does all the hard work, letting the apples break down beautifully. Plus, it’s a great way to use up excess apples from my orchard.
The end result is a smooth, sweet spread that’s perfect on toast or with cheese. You won’t be disappointed!
Ingredients of Pressure Cooker Apple Butter
When it comes to making delicious apple butter, it all starts with the right ingredients. The beauty of this Pressure Cooker Apple Butter recipe is that it requires just a handful of simple items that you might already have in your pantry, plus those wonderful apples just waiting to be transformed into something sweet and spreadable.
So, grab your apron, and let’s take a look at what you’ll need to whip up this delightful treat.
Ingredients for Pressure Cooker Apple Butter:
- 16 apples (any variety you like)
- 1/2 cup cider vinegar
- 2 1/2 cups brown sugar
- 3 teaspoons cinnamon
- 1/4 teaspoon ground cloves
Now, let’s chat about the ingredients a bit more. First off, those apples are the star of the show, so pick some that are sweet and juicy.
I often go for a mix of tart and sweet varieties—it adds a really nice depth of flavor. And if you happen to have a few bruised apples lying around, this is the perfect recipe to rescue them.
The spices, especially the cinnamon, bring warmth and that cozy fall vibe. Don’t worry too much about having the exact measurements; cooking is all about personal taste, right?
Plus, if you’re feeling adventurous, you can experiment with other spices or even throw in a pinch of nutmeg for a little extra zing. And let’s be real, who doesn’t love a bit of zing?
How to Make Pressure Cooker Apple Butter
Making your own Pressure Cooker Apple Butter isn’t just a culinary endeavor; it’s an experience that fills your kitchen with the warm and inviting aroma of cinnamon and apples. So, let’s dive right into it, shall we?
First, take those 16 apples and give them a good wash. Once they’re squeaky clean, it’s time to core and slice them. Don’t worry about making them perfectly uniform; they’ll all get blended together later. If you’re feeling a bit lazy (or just a little overwhelmed by the apple-slicing task), you can always peel and core them before tossing them into the blender. Trust me, either way works just fine.
After the apples are prepped, toss them into your 4-quart electric pressure cooker. Now, here’s where the magic happens—add in 1/2 cup of cider vinegar. This won’t only provide a nice tang but also helps balance the sweetness later on. Secure the lid, and cook those apples on high pressure for 1 ½ hours. Yes, I know, it feels like an eternity when you’re enthusiastic to dig into your homemade apple butter, but patience is key.
Once the time’s up, let the steam escape through the valve before removing the lid (careful, it’s steamy in there!). Transfer the tender apples into a blender or food processor, and blend them until they’re as smooth as your favorite jam.
Now comes the fun part. Pour that velvety apple mixture back into the pressure cooker, and add in 2 ½ cups of brown sugar, along with 3 teaspoons of cinnamon and 1/4 teaspoon of ground cloves. Stir it all together, and then cook for an additional 30 minutes. I know it might seem a bit soupy at this point, but hang tight—apple butter thickens as it cools.
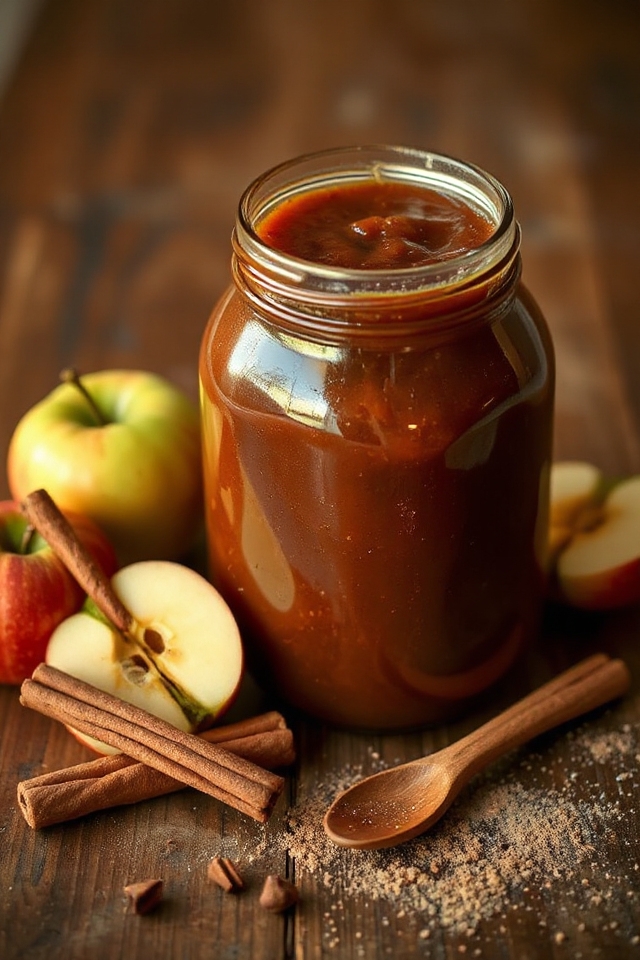
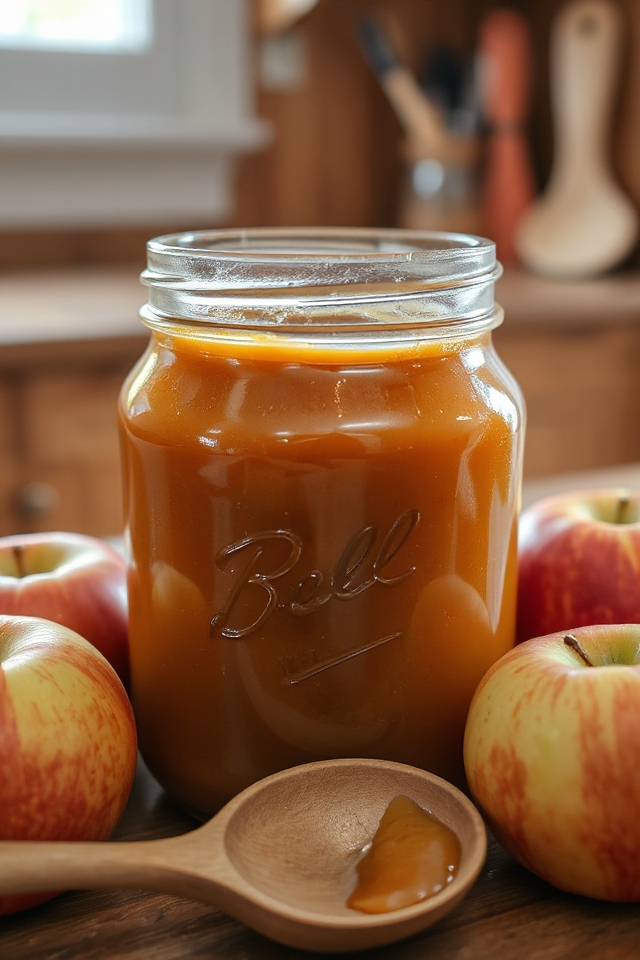
Once done, release the pressure, give it a good stir, and then transfer your luscious apple butter into 2-quart jars with lids. Here’s a little tip: cover the jars with a paper towel while they cool to avoid any condensation.
After they’ve cooled down, seal them up and decide whether you want to refrigerate, freeze, or can them according to your preferred method. And there you have it, your very own homemade apple butter, perfect for spreading on toast or drizzling over pancakes. Just try not to eat it all in one sitting. I mean, I can’t promise I won’t—it’s that good.
Pressure Cooker Apple Butter Substitutions & Variations
While crafting your apple butter, consider how easy it’s to personalize the recipe to suit your taste.
For a sweeter twist, try adding maple syrup or honey instead of brown sugar. If you love a little heat, sprinkle in some ginger or nutmeg.
For a unique flavor, experiment with different apple varieties; I often mix tart and sweet apples. You can also substitute some of the apples with pears for a delightful variation.
Want a smoother consistency? Use a food mill instead of a blender.
The possibilities are endless, so have fun and make it your own!
What to Serve with Pressure Cooker Apple Butter
What can you pair with your delicious homemade apple butter? I love spreading it on warm, buttery toast for a cozy breakfast.
It’s also fantastic on fluffy pancakes or waffles, adding a sweet, spiced twist. For a savory touch, try it with cheese on a charcuterie board—sharp cheddar or creamy brie works wonders!
You can even mix it into oatmeal for a delightful morning bowl. Don’t forget about using it as a filling in pastries or thumbprint cookies.
The versatility of apple butter makes it a delightful companion to so many dishes, making every bite a little sweeter. Enjoy!
Additional Tips & Notes
To guarantee your apple butter turns out just right, it’s helpful to remember a few key tips.
First, use a mix of sweet and tart apples for depth of flavor. I recommend checking the consistency before transferring it to jars; it thickens as it cools.
If you prefer a chunkier texture, don’t hesitate to use a potato masher instead of blending.
Also, remember to sterilize your jars if you’re canning, as it helps preserve your apple butter longer.
Finally, feel free to experiment with spices like nutmeg or ginger to make it uniquely yours! Enjoy your delicious creation!