Why You’ll Love This Pressure Cooker – Chili Con Carne Recipe
If you’re looking for a hearty and flavorful meal that comes together in no time, you’re going to love this Pressure Cooker Chili Con Carne recipe.
It’s perfect for busy weeknights when I want something comforting without spending hours in the kitchen. The pressure cooker locks in all those rich flavors, making each bite a delightful experience.
Plus, it’s incredibly versatile—serve it over rice, with cornbread, or even as a topping for nachos. I can whip up a big batch and enjoy the leftovers too.
Trust me, this chili will quickly become a family favorite!
Ingredients of Pressure Cooker – Chili Con Carne
When it comes to making a delicious Pressure Cooker Chili Con Carne, the ingredients are what truly set the stage for a mouthwatering dish. You want to gather everything before you start cooking to make the process smooth and enjoyable. Trust me, nobody wants to be running around the kitchen like a headless chicken looking for that can of beans while the meat is browning.
So, let’s make sure you have everything on hand before we embark on this culinary adventure.
Here’s what you’ll need:
- 2 1/4 lbs lean ground beef
- 1/2 cup olive oil
- 1 lb onion, chopped
- 6 garlic cloves, finely chopped
- 1 1/2 cups kidney beans, soaked
- 3 cups canned tomatoes, drained and chopped
- 2 bay leaves
- 1 tablespoon salt (or 1 1/2 tablespoons Mrs. Dash Table blend)
- 1 tablespoon tomato paste
- 3 tablespoons chili powder
- 1/4 teaspoon pepper
- 1/4 teaspoon dried basil leaves
- 2 teaspoons ground cumin
- 2 cups water
Now, let’s talk about a few considerations regarding these ingredients. First off, if you’re not a fan of kidney beans, feel free to swap them out for black beans or pinto beans—chili is all about personal taste.
And the ground beef? You can use turkey or even plant-based meat if you’re looking for a healthier or vegetarian option. Just know that these alternatives might alter the cooking time a bit.
Also, if you like it spicy, throw in some diced jalapeños or a pinch of cayenne pepper to kick things up a notch. The beauty of this recipe is that it’s adaptable, so don’t be afraid to make it your own.
Happy cooking!
How to Make Pressure Cooker – Chili Con Carne
Alright, let’s plunge into the delightful journey of making your Pressure Cooker Chili Con Carne. First up, we need to get that ground beef sizzling. Grab 2 1/4 lbs of lean ground beef and divide it into two batches. In your pressure cooker, heat 2 tablespoons of olive oil for about 2 minutes. You want it hot enough to brown the meat but not so hot that it’s sending smoke signals to the fire department.
Add the first batch of beef, letting it brown nicely. Once it’s looking all golden and delicious, remove it from the cooker. Now, repeat the process with another 2 tablespoons of olive oil and the second batch of beef. You’re fundamentally creating a meaty masterpiece here, so don’t rush through it.
Now that your beef is all browned and removed, it’s time to add the remaining 4 tablespoons of olive oil to the cooker. Toss in 1 lb of chopped onions and 6 finely chopped garlic cloves. Stir them around until the onions are light brown—it’s like magic when the kitchen starts smelling heavenly.
Once you’ve achieved that aromatic goodness, return the beef to the pot. Here’s where the fun really begins: add in 1 1/2 cups of soaked kidney beans, 3 cups of canned tomatoes (drained and chopped), 2 bay leaves, 1 tablespoon of salt (or 1 1/2 tablespoons of Mrs. Dash if you’re feeling fancy), 1 tablespoon of tomato paste, 3 tablespoons of chili powder, 1/4 teaspoon of pepper, 1/4 teaspoon of dried basil, 2 teaspoons of ground cumin, and 2 cups of water.
Give it all a good stir—mixing is key, my friend. Close the lid of your pressure cooker and crank up the heat to bring it to full pressure. Once you’re there, reduce the heat and let it cook for 18 minutes. This is the part where you can kick back, maybe grab a snack, or contemplate life while you wait.
After those 18 minutes, carefully remove the cooker from the heat and allow it to cool naturally—no peeking, you want all that pressure to do its magic. Once it’s safe to open, discard the bay leaves, and there you have it!
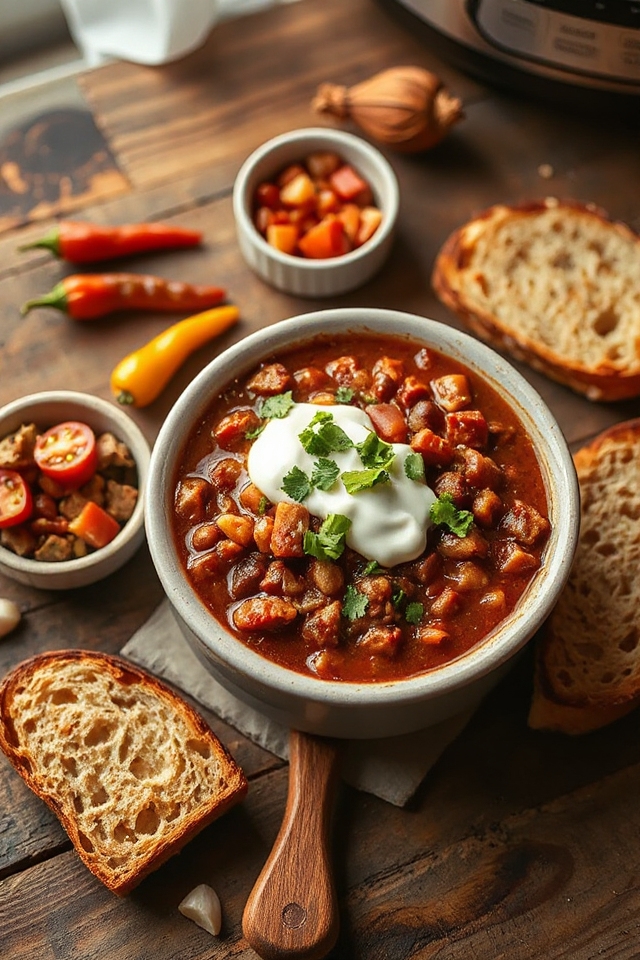
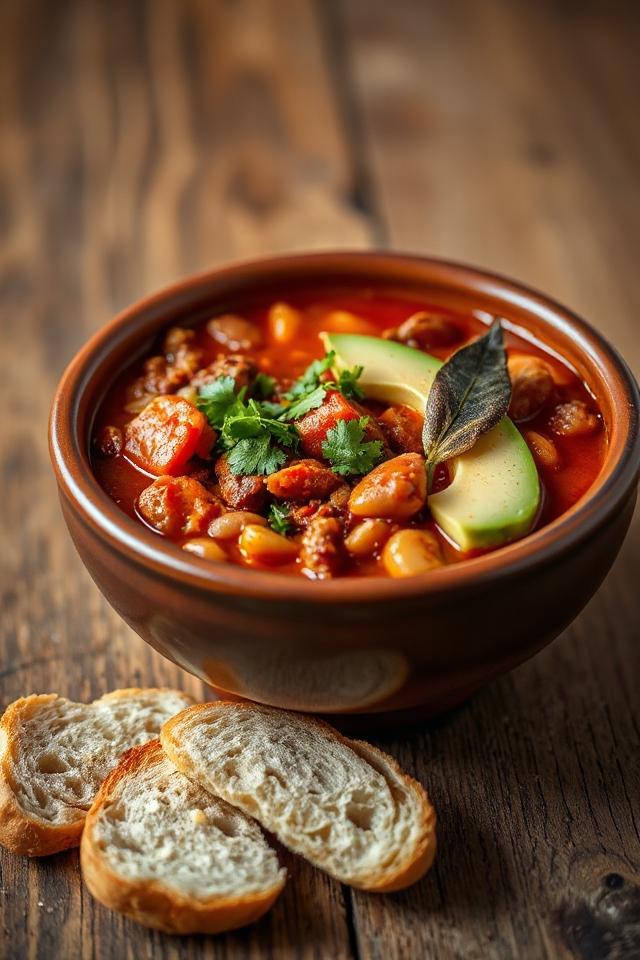
Serve your chili hot, maybe with some crusty bread or over rice. It’s hearty, comforting, and perfect for those days when you just want to wrap yourself in a warm blanket and eat something that feels like a hug. Enjoy!
Pressure Cooker – Chili Con Carne Substitutions & Variations
Now that you’ve got a pot of delicious Pressure Cooker Chili Con Carne simmering away, let’s explore some fun substitutions and variations you can try.
If you’re looking for a healthier option, swap the ground beef for turkey or even lentils for a vegetarian twist. You can also mix in different beans like black beans or pinto beans.
Want a spicier kick? Add jalapeños or a dash of hot sauce. For a smoky flavor, toss in some chipotle peppers.
Finally, feel free to experiment with spices—cayenne or smoked paprika can really elevate your chili game! Enjoy your culinary creativity!
What to Serve with Pressure Cooker – Chili Con Carne
While enjoying a hearty bowl of Pressure Cooker Chili Con Carne, I love to think about what to serve alongside it to enhance the meal.
A side of warm cornbread is perfect for soaking up every delicious drop. I also enjoy a fresh green salad topped with avocado and a squeeze of lime for a revitalizing contrast.
If I’m in the mood for something more indulgent, I whip up some cheesy nachos or serve tortilla chips with salsa.
A dollop of sour cream or a sprinkle of cheese on the chili adds a nice finishing touch, too!
Additional Tips & Notes
Serving Pressure Cooker Chili Con Carne with complementary sides can elevate your meal, but there are also some tips that can enhance the chili itself.
First, consider adding a splash of vinegar or lime juice before serving to brighten the flavors. I also like to mix in some diced bell peppers for added texture and sweetness.
If you enjoy heat, toss in some diced jalapeños or a dash of hot sauce.
Finally, let the chili sit for a bit after cooking; it often tastes even better the next day as the flavors meld.
Enjoy experimenting and finding your perfect blend!